Resizing images one by one can be a hassle. Luckily, Photoshop has a simple script already set up for you to resize all of your images at once! This neat little trick can really save you a lot of time.
To get started, you need to place all of the files you want resized into their own folder. Now open Photoshop and go to File > Scripts > Image Processor. A window will appear with a simple 4 step process for you to follow.
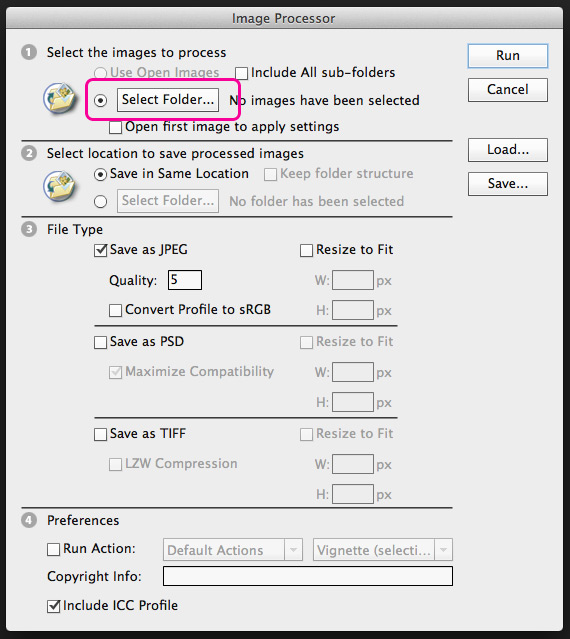
The first step will be for you to select the folder that houses the images you want resized.

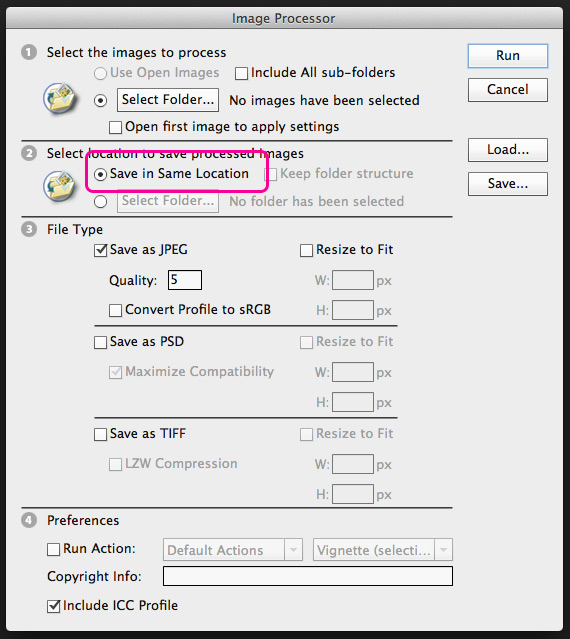
The next step is just asking where you would like to save your newly-resized images. If you choose the default “Save in Same Location” the program will create a separate folder inside of that folder to store the resized images. This just ensures none of your raw files are replaced or lost.

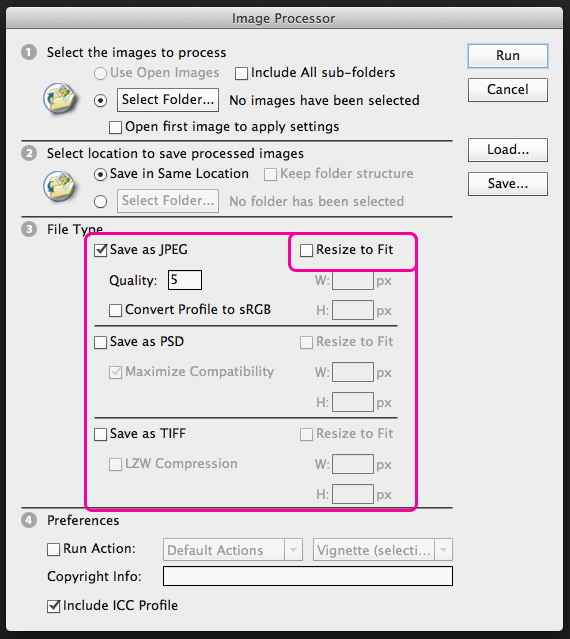
The third step is where you will set the parameters for your resize. The first thing you should do is check the box marked “Resize to Fit” which will open up your height and width fields. There you will input the size you would like the images to be. If your image isn’t the same ratio as you entered, photoshop will use the longest side as a constraint. For example if your image is 1000×500 pixels and you enter your new height and width as 500×500, Photoshop will make the image 500×250. In this step you can also save your image as multiple file types. If you check the PSD or TIFF box the fields will open up for them as well.

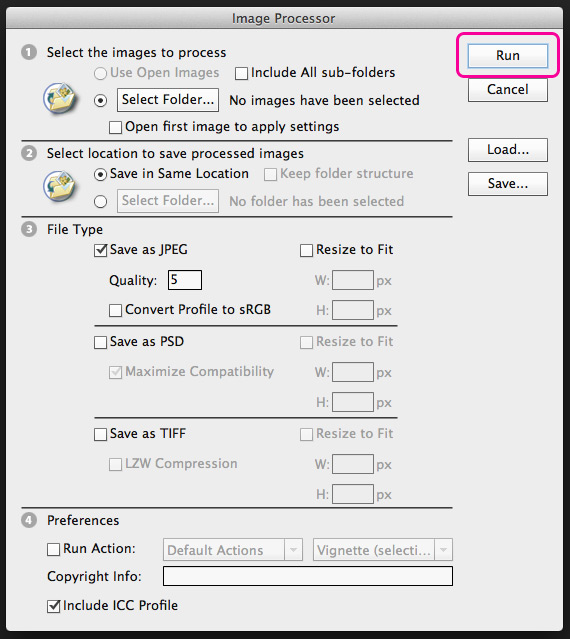
The last step in the process is to simple activate your script by clicking “Run.” Photoshop will then complete your batch resize and save them appropriately.


