My previous article discussed the simpler side of conversion tracking in Google Analytics and its importance to business owners. Now that you’ve got the basics down, it’s time to discuss the top goal for most websites: contact form submissions.
How your site is built will dictate which method you have to use. At Blueprint, most of our clients’ sites are built on WordPress platforms and use the Gravity Forms premium plugin to produce contact forms. Keep in mind that if you have a WordPress site, but are not using Gravity Forms, this method works for many free contact form plugins as well. The one exception is Contact Form 7, which I’ll cover in the next article.
For now, let’s focus on implementing conversion tracking for Gravity Forms (v1.9) on WordPress (v4.2.2).
Google Analytics Goal Configuration for Contact Forms
To start, go into the Admin > View section of Google Analytics to create your Goal. This time, your Goal Type will be an ‘Event’. As for naming your goal, I would recommend using a clear, but short, description. This will help when you return to your Analytics goals later in that you won’t have a hard time understanding what action that goal is tracking.
Once you get to Step 2 of creating the goal, labeled “Goal Details”, it’s time to decide your Event Conditions:
- Category: Typically the object the user interacts with (e.g. button)
- Action: The type of interaction (e.g. click)
- Label: Useful for categorizing events (e.g. nav buttons)
- >Value: If you know the value of an incoming lead for your sales funnel, you can add that data into Google Analytics here (e.g. a lead is worth $25 to your brand). This value cannot be negative.
Whatever you decide to enter in these fields is completely at your discretion. The important part is to take note of each value so that you can refer to it later.
Using Google Tag Manager for Form Submissions
After you’ve set up the goal in Google Analytics, you can immediately add code to your Gravity Form so it can start working. However, I do not recommend this because when you do that, you have to wait to see whether your tracking is working. Then all the debugging or diagnosing is on you. This is where Google Tag Manager comes in handy.
To access Google Tag Manager, go to http://www.google.com/tagmanager/. If you haven’t done so already, follow the Wizard to create your account. Similar to most Google products, signing up is a cinch. You’ll then be asked to set up a Container. Think of this as you would a Property in Google Analytics with one very cool exception – containers can span multiple domains for various tracking features.
Once you’ve created your Container, complete with the name and where to use (Web for this case), you’ll be given a snippet of code to add to your website’s header.php just after the opening <body> tag. If you’re not sure of how to add this code to your website, get a hold of your site developer.
I also recommend that you test whether Tag Manager code is properly placed on your website by using that handy Tag Assistant by Google Chrome extension (This comes in pretty handy for spotting Google Analytics code as well).
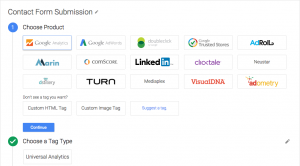
Now you can start creating Tags that will link with Google Analytics for tracking those contact forms. As you do this, keep in mind that earlier rule of naming your Tags as clearly and concisely as possible. This will help you remember what they are should you need to come back and view them again.
For the product, you’ll want to select Google Analytics, of course, with the Tag Type being Universal Analytics. If you are NOT on Universal Analytics, then read this article about how to update.

On to step 3 with “Configure Tag.” You’ll need to add the proper Google Analytics Tracking Code (this can be found easily through the Chrome extension mentioned earlier). Make sure this is the right tracking code for your site! Your Track Type is ‘Event’ and for the parameters, they need to be the values you entered when setting up the Goal in Google Analytics.
So great! We’ve got it hooked up to Google Analytics so that when Google Tag Manager triggers, it will send the proper event tag to Google Analytics. But how does it know when that should be? Here’s where you start with the last step, “Fire On.” Select a “Form” as your Event.

Lastly, Enable When determines which event where would start the whole process. For contact forms, you’ll want it to be a form submission. Thankfully, Google Tag Manager comes with a handy listener for these types of events that we can activate by entering “gtm.formSubmit.” What’s even better, this string works for most contact forms on WordPress I’ve tested, except for Contact Form 7.
Lastly, select whether you want that goal to fire on All Forms or only Some. This can come in handy if you have multiple forms on a single page and want to track which one is more successful.
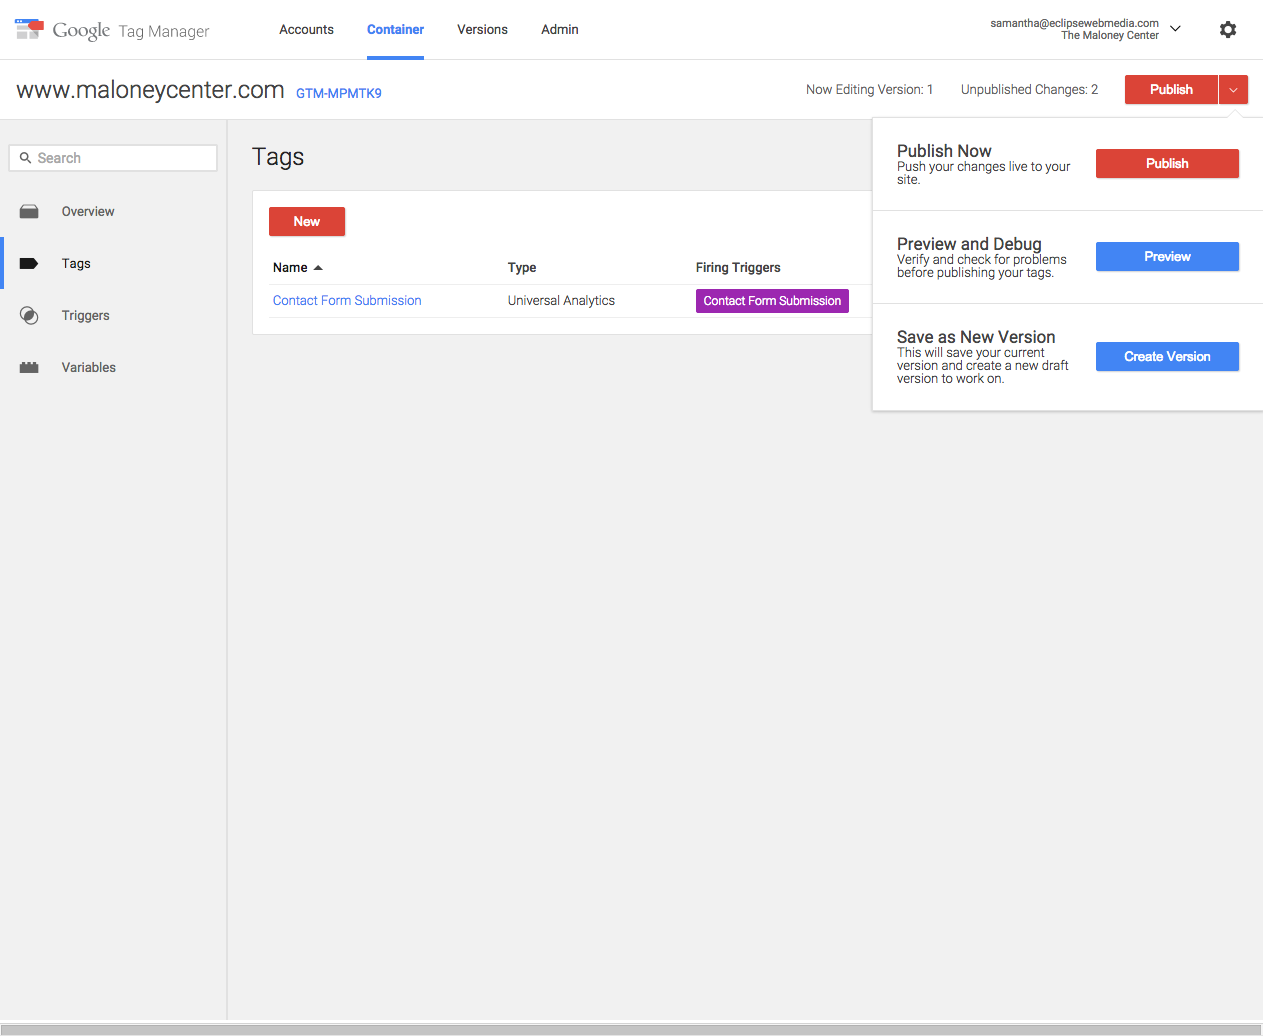
And Publish!
In the next part of this series, we’ll take a look at what changes are needed for making this work with Contact Form 7. Then, I’ll provide a few tips for testing everything you just set up.